Project/ Reservoir/ Data
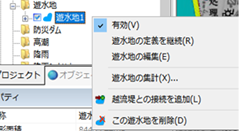 Figure: Reservoir data
Table: Context menu items and functions for reservoir data
| Context menu items | function |
|---|---|
| valid | Enable/disable drainage area data. |
| Continuing to define drainage basins | Continue to create a drainage zone definition. |
| Editing a Reservoir | Edit the drainage area. |
| Aggregation of retained basins | The "time (s)", "water depth (m)", "water level (m)", "volume (m^3)", "inflow (m^3/s)", and "outflow (m^3/s)" of the drainage basin are output. |
| Added connection with overflow levee | Set up a connection with the overflow bank of the river. |
| Delete this reservoir | Delete the drainage data. |
valid
Enable/Disable. If enabled, a check is displayed.
Continuing to define drainage basins
It is created from the continuation of the final point of the created reservoir.
For the operation method, please refer to Project / Drainage Area / Creating a new Reservoir, Tutorial/ Condition setting Individual operation / Drainage area.
Editing a Reservoir
-
When you select a menu, vertices are displayed.
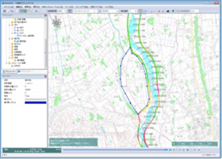
Figure: Showing the vertices of a drainage basinTable: Edits and operations for drainage areas
Editing operation migration Select a vertex and move it with mouse drag. addition Click on the line to add a vertex. deletion [Ctrl] Hold down the key and click a vertex to delete the vertex. -
To revert to the previous state, [Revert] select Edit menu .
-
To cancel editing,[Esc] press the key.
-
[Enter] Press the key to confirm your edits.
Aggregation of retained basins
-
When you select a menu, the Save As dialog appears.
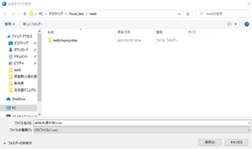
Figure: Aggregation of drainage basins -
Specify any output destination [preservation] Click the button to output the data of the drainage basin in CSV format.
-
The output content is the aggregate information of the drainage area.
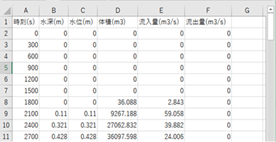
Figure: Exported CSV format (Excel display example)
Added connection with overflow levee
-
When you select the menu, the overflow embankment of the river is selectable.
Click the overflow embankment you want to connect.
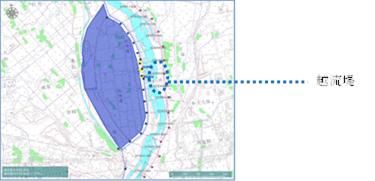
Figure: Selecting a river overflow embankment -
[Enter] Press the key to confirm your edits. A connection with the overflow embankment is added.
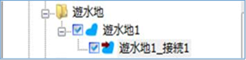
Figure: Connection with overflow embankment
Delete this reservoir
When you select the menu, a confirmation message appears. [Yes] Click the button to delete this reservoir data.
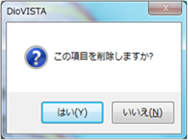 Figure: Delete this reservoir.