Project/ Embankment/ Data
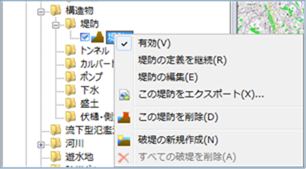 Figure: Embankment data
Table: Context menu items and functions for levee data
| Context menu items | function |
|---|---|
| valid | Enables or disables levee data. |
| Continue to define levees | Continue to create levee data definitions. |
| Edit levees | Edit the levee data. |
| Export this levee | Export levee data in KMZ format. |
| Delete this levee | Delete the levee data. |
| Creating a new levee | Create a break point on the embankment. |
| Remove all levees | Delete all levees at once. |
valid
Enable/Disable. If enabled, a check is displayed.
Continue to define levees
Create from the continuation of the last point of the created embankment line.
For details on how to operate it, refer to Project/Embankment/Creating a new embankment.
Edit levees
-
When you select a menu, vertices are displayed.
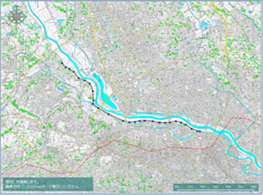
Figure: Edit an embankment.
Table: Levee edits and operations
Editing operation migration Select a vertex and move it with mouse drag. addition Click on the line to add a vertex. deletion [Ctrl] Hold down the key and click a vertex to delete the vertex. -
To revert to the previous state, [Revert] select Edit menu .
-
To cancel editing,[Esc] press the key.
-
[Enter] Press the key to confirm your edits.
Export this levee
-
When you select a menu,[Save As] a dialog appears.
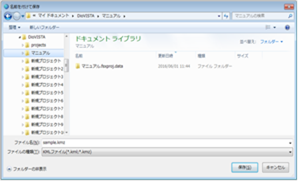
Figure: Export this levee -
Specify any output destination [preservation] and click the button to output the embankment data in KMZ format.
Delete this levee
When you select the menu, a confirmation message appears. [Yes] Click the button to delete this levee data.
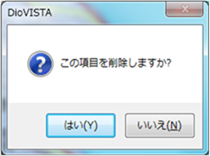 Figure: Delete this embankment
Creating a new levee
-
Mouse click the start and end points on the map to specify the extent.
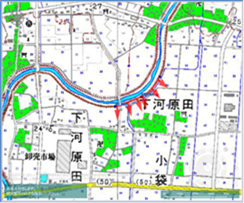
Figure: Creating a new levee (specifying the range) -
To revert to the previous state, right-click or[BackSpace] press the key.
-
To cancel the creation,[Esc] press the key.
-
Double-click or [Enter] press to confirm the creation.
-
Set the conditions for the break location on the property screen.
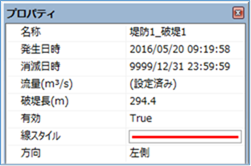
Figure: Properties screen for creating a new leve.Table: Property names and settings for creating new levees
| Property Name | What to set |
|---|---|
| name | Enter a name of your choice. |
| Date and time of occurrence | Specify the date and time when the levee breaks. The initial value is the date and time of the project. |
| Date and time of extinction | Specify the date and time when the levee will disappear. The default value is "9999/12/31 23:59:59". |
| flow rate | Set the burst flow rate for time(s) change on the flow rate setting screen. |
| Length of the levee | Displays the specified breach width on the map. You can also enter any width. |
| valid | Enable/disable settings. The initial value is True. True: Enabled: False: Disabled |
| Line Style | Specify the line style (line type/line width/line color) to be displayed on the map. The initial values are as follows: Linetype: Solid Line Width: 3px Line Color: Red |
| direction | Set the levee direction. The default value is "left". Right side: Right side of levee creation direction "Left side": Left side of levee creation direction |
Remove all levees
When you select the menu, a confirmation message appears. [Yes] Click the button to delete all levee data.
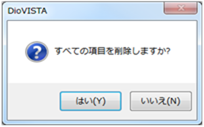 Figure: Remove all levees