project
Create a new project
-
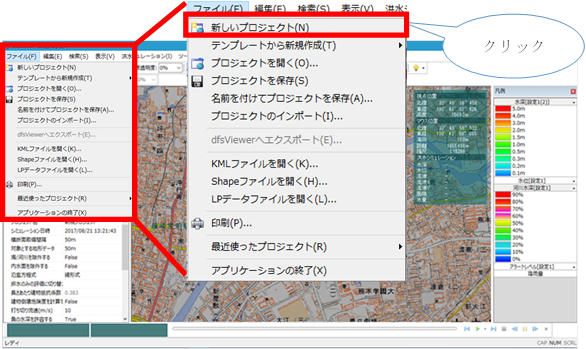
Select > [file]from the DioVISTA menu bar [New Projects] .
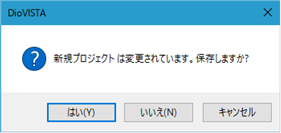
??? + note "If you haven't saved the project" If you have not saved an open project, a save confirmation message appears.
1 -
Select the menu to open a new project.
Make the calculated coordinate system a latitude-longitude coordinate
-
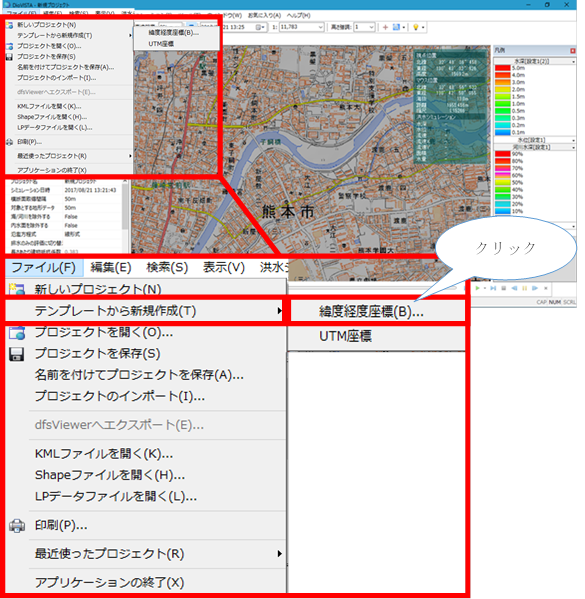
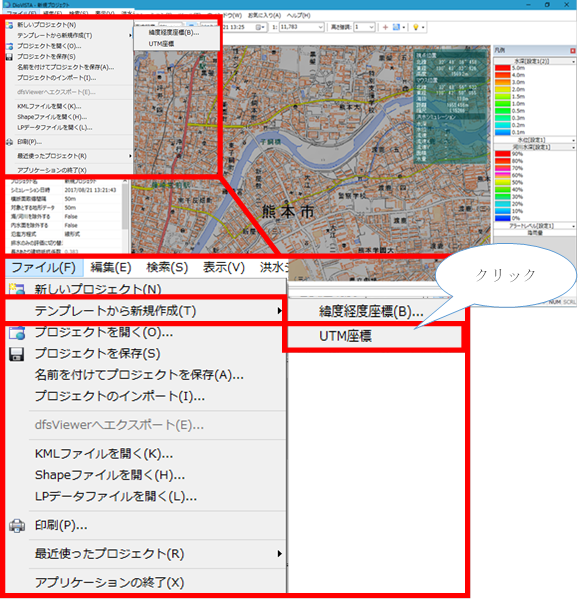
Select >[file]> [Create new from template]from the DioVISTA menu bar [Latitude and longitude coordinates] .
If you haven't saved the project
If you have not saved a previously open project, a save confirmation message appears.

-
[Create new latitude and longitude coordinates] A dialog will appear.
-
Sets the center latitude of the calculated area.
-
[OK] Click the button to set the specified center latitude information to the project information. Otherwise, click[cancel] the button to close the dialog.
??? + note "Change center latitude information" You cannot change the center latitude information during project creation.
1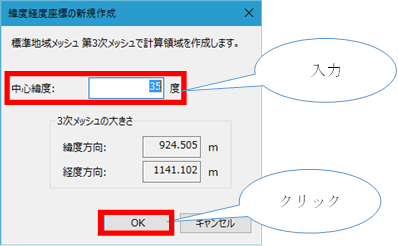??? + note "Show central latitude information" Displays the specified center latitude information in the project properties.
1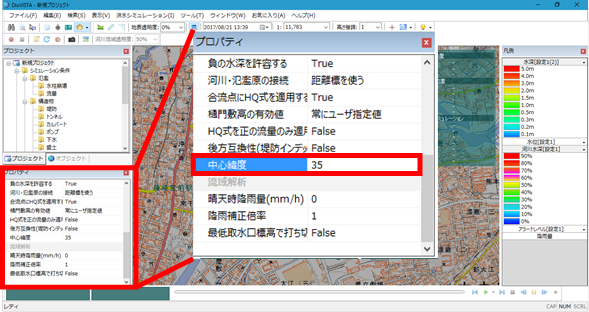
Make the coordinate system to be calculated UTM coordinates
-
Select >[file]> [Create new from template]from the DioVISTA menu bar [UTM coordinates] .
If you haven't saved the project
If you have not saved a previously open project, a save confirmation message appears.
-
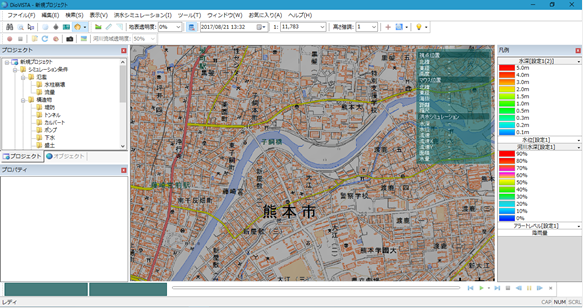
[New Projects] Display the home screen in the same way as the existing menu.
??? + note "View UTM Zone" In the project properties, display UTM Zone.
1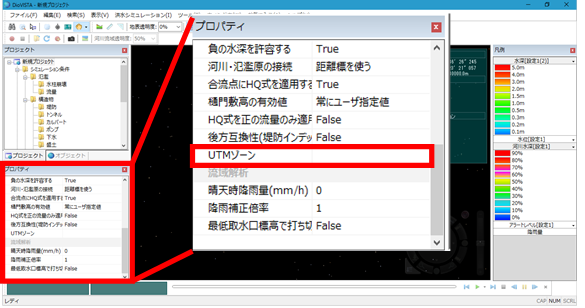
Open a project file
-
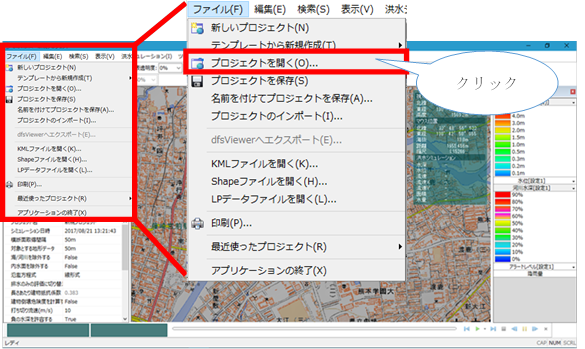
Select > [file]from the DioVISTA menu bar [Open a project] .
If you haven't saved the project
If you have not saved a previously open project, a save confirmation message appears.
-
The project selection dialog appears. Select the project you want to open.
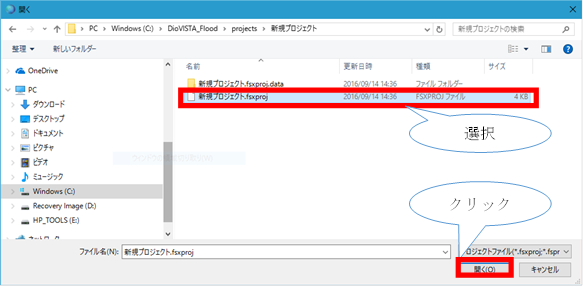
-
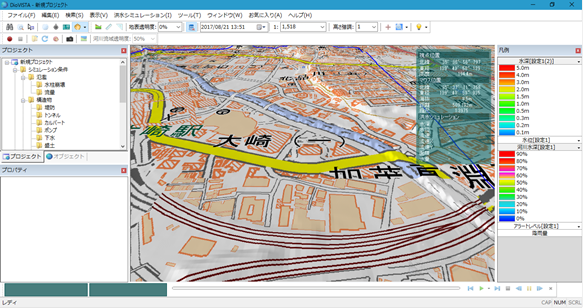
The selected project file opens.
Save the project
-
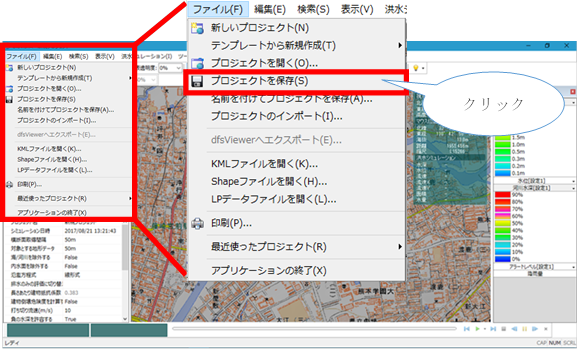
Select > [file]from the DioVISTA menu bar [Save Project] .
-
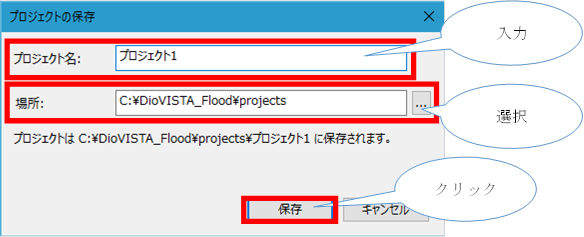
For new projects, a [Saving a project] dialog is displayed. Specify the project name and save destination and [preservation] click the button.
-
The project is saved.
??? + note "For existing projects" If it is an existing project, save it over time.
1
Save a new project with a different name
-
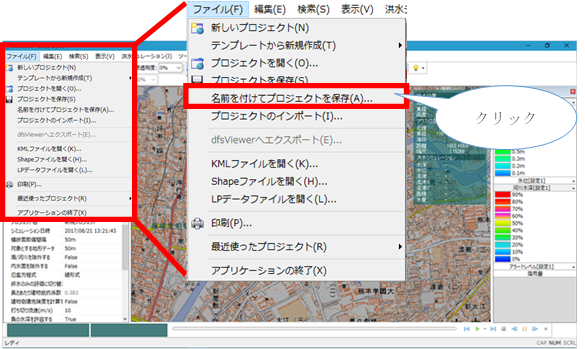
Select > [file]from the DioVISTA menu bar [Save Project As] .
-
[Saving a project] A dialog will appear. Specify the project name and save destination and [preservation] click the button.

-
The project is saved.
Import a project
-
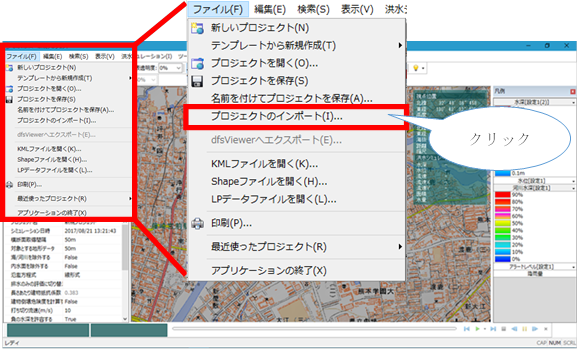
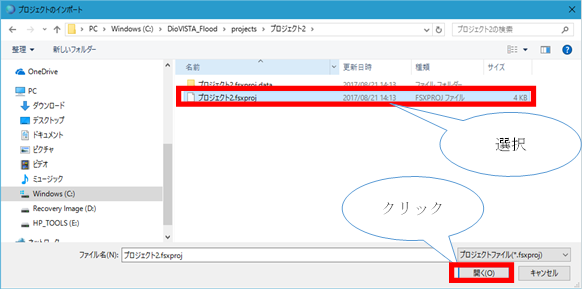
Select > [file]from the DioVISTA menu bar [Importing a Project] .
-
[Importing a Project] A dialog will appear. Select the existing project you want to import.
-
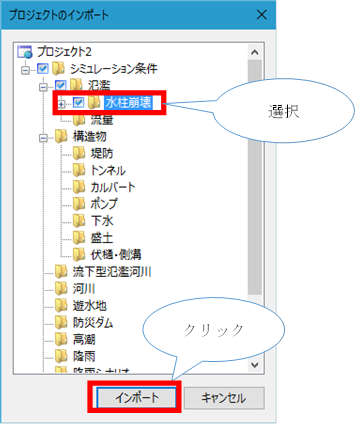
Check the simulation condition items to import and[import] click the button.
-
The checked simulation conditions are imported.

Opening KML files
-
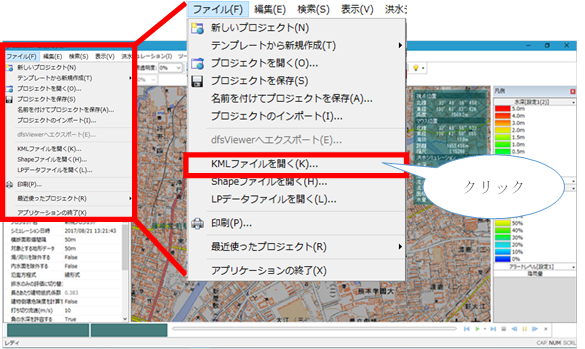
Select > [file]from the DioVISTA menu bar [Opening KML files] .
-
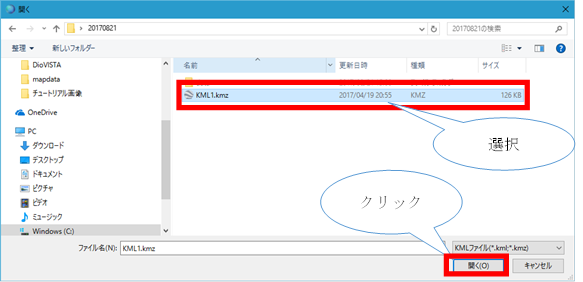
[open] A dialog will appear. Select the KML file and[open] click the button.
-
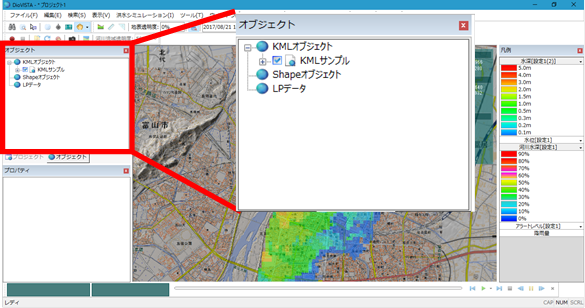
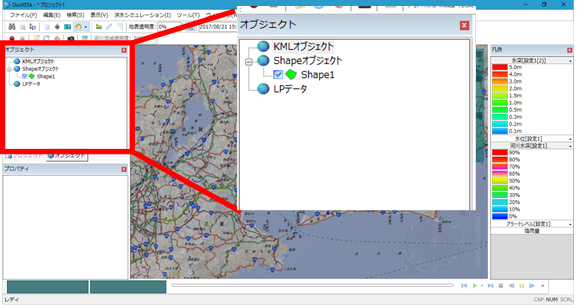
The object appears on the map, and the data items are displayed as a tree in the object window.
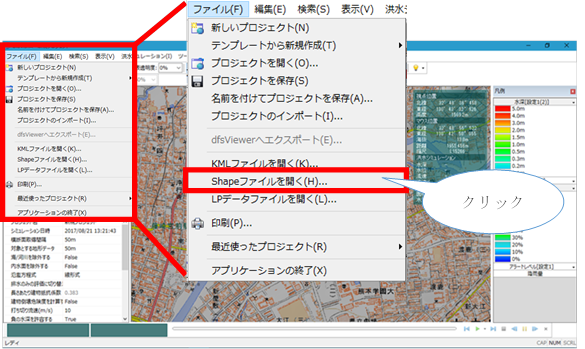
Opening SHAPE files
-
Select > [file]from the DioVISTA menu bar [Opening SHAPE files] .
-
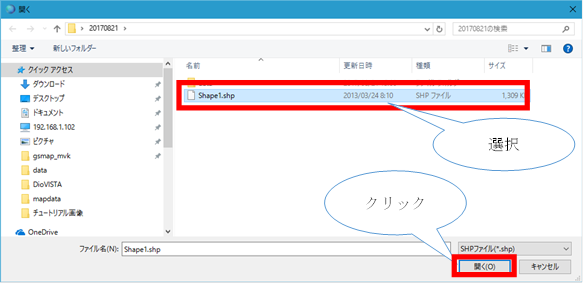
[open] A dialog will appear. Select the Shape file and[open] click the button.
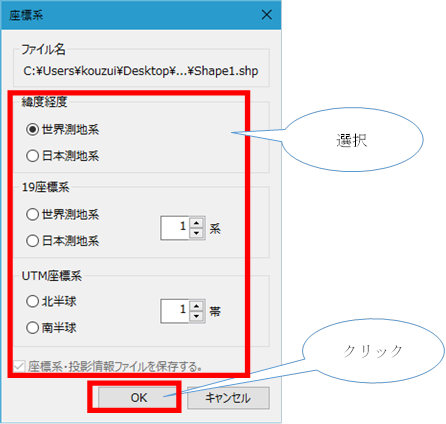
??? + note "For data without a coordinate system" For data that does not have a coordinate system, the coordinate system selection dialog is displayed.
-
The object appears on the map, and the data items are displayed as a tree in the object window.
Opening LP data files
-
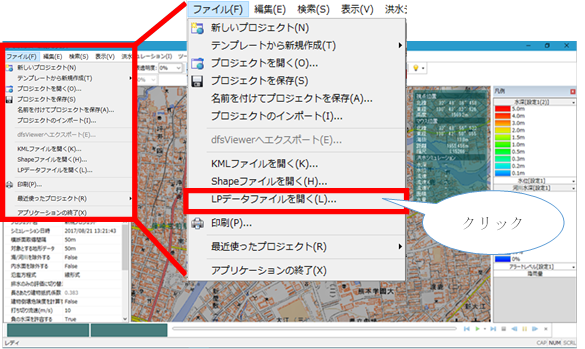
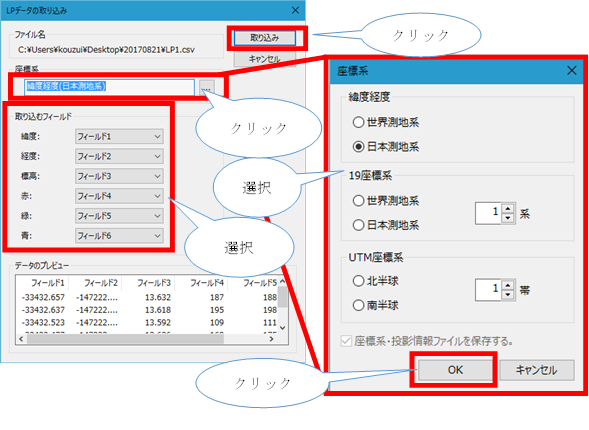
Select > [file]from the DioVISTA menu bar [Opening LP data files] .
-
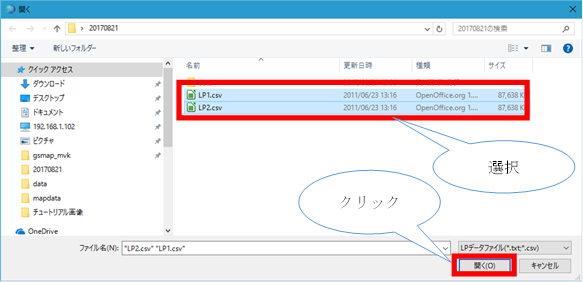
[open] A dialog will appear. Select the LP data file and[open] click the button.
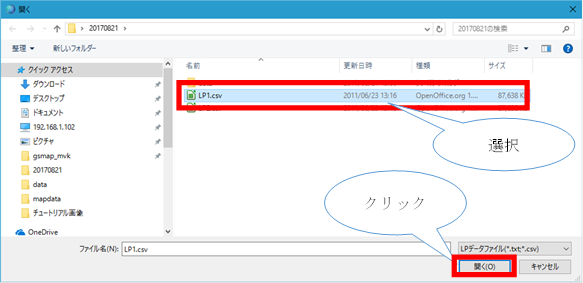
??? + note "Select multiple files" You can select multiple files by holding down the Shift or Ctrl key while selecting files.
-
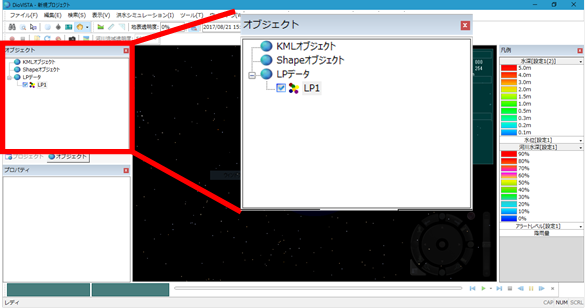
[Import LP data] In the dialog, specify the fields that correspond to the coordinate system, latitude longitude, elevation, and color, and[confusion] then click the button or button [Ingest All] .
-
The object appears on the map, and the data items are displayed as a tree in the object window.
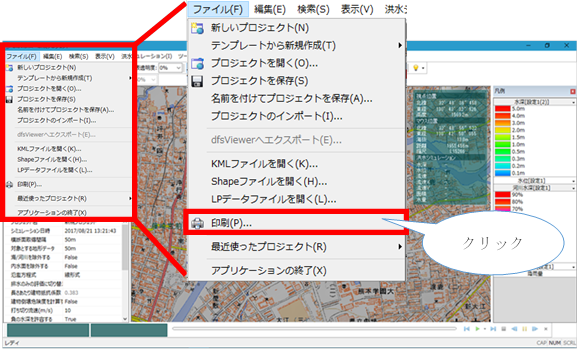
Print
-
Select > [file]from the DioVISTA menu bar [printing] .
-
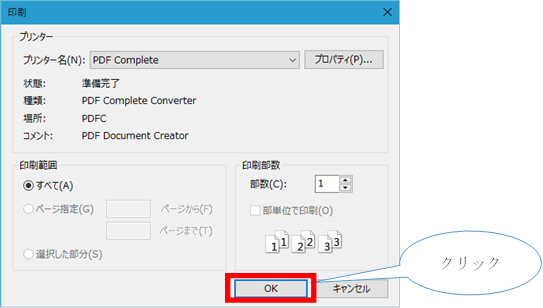
[printing] A dialog will appear. Select the printer and[OK] click the button.
-
The map screen prints.
Open a recent project
-
Select a project from the > [file] Recent Projects list from the DioVISTA menu bar [Recent Projects] .
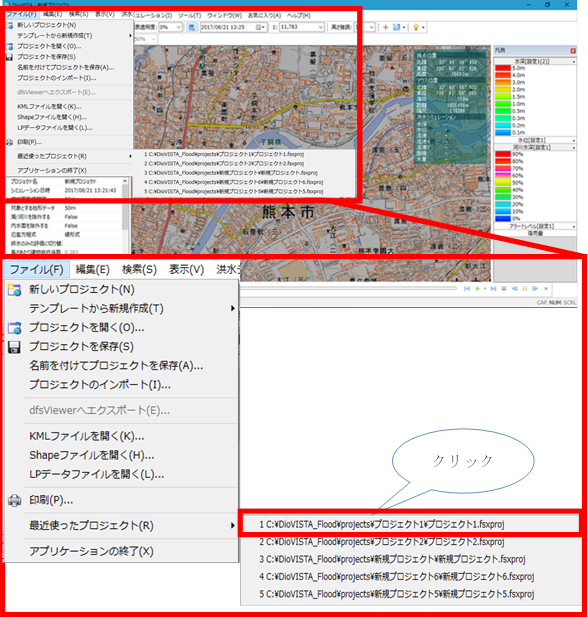
-
Select to open the project.
